")
The HT-DW1 provides long battery life of over 3 years under normal daily usage. The battery is easily replaceable by the customer when necessary.
The HT-DW1 easily integrates into any approved ZigBee Alliance Home Security system. With its wireless connectivity and ease of installation, the HT-DW1 is perfect for any home.
Specifications Installation Pairing Resetting
Features and Specifications
- Compact Size
- Sliding Housing Design
- Long Battery life: 3-5 years
- Bundle tamper switch
- ZigBee wireless Low Power Communication
- Easy Device Association with ZigBee Network
- Seamless Network Rejoin with no delay
- Wall Mounting Method: Screws or Double-sided Tape
- Magnet options for .75 and 1.25 inch gap coverage
Technical Specs
- Battery Type: CR2032, 3V
- Battery Life: 3 – 5 years
- Dimension: 1.22 x 1.22 x 0.43 in
- Operating Temperature: 14°F to 122°F
Installation
It is highly recommended to attach the transmitter to the fixed frame and the magnet to the movable part (door or window). Make sure that the magnet is located not more than 6 mm (0.25 in.) from the transmitter’s marked side.
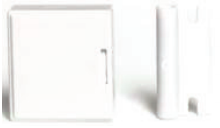
Hitron’s HT-DW1 is a micro door/ window sensor, using a magnetic reed switch to detect when a door, window, cabinet, garage door or any other object is opened.
Test the Sensor from desired location before permanent installation. Position the sensor’s mounting plate beside the door or window frame on the wall and the magnet on the door or window itself by using either double sided tape or screws. They can be a maximum of 0.75” (1.9 cm) apart. If aligned properly, you will be able to hear a ‘click’ when they approach. When the door/window is opened, contact is broken and the sensor sends a signal to activate the receiver(s).
LED Indicators
| Status/Action | Description |
| HT-DW1 is ON | The LED will always light green for 2 seconds when the battery is inserted |
| Search for Network | The led will flash green 3 times each time. It will quit flashing when it finds a network. |
| Factory Reset | Holding the tamper switch, inserting the battery, and releasing it while the led is green (within 2 seconds of inserting the battery). |
| Forced Rejoin | Pressing and releasing the tamper switch 5 times within 5 seconds |
Pairing
Sensors can be added to your system during activation, or at a later time. If you want to add a sensor that was not included with the original Touchstone package, make sure your service provider supports it.
Note: If you are attempting to pair a sensor that has been previously deleted from the Hub, it will be necessary to default the sensor.
To add a sensor, click SETTINGS on the toolbar to display the Settings page. The number in the upper right hand corner of each icon indicates how many instances of that type of device have been installed already.
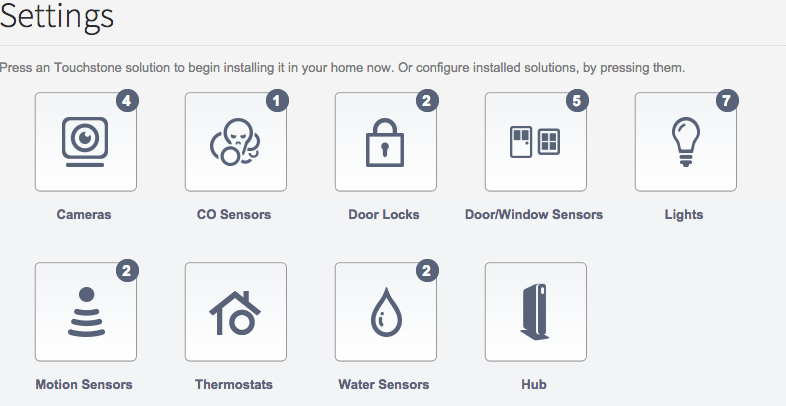
Click the type of sensor you want to add(i.e. door/winow, motion, etc) to display the sensor’s settings.
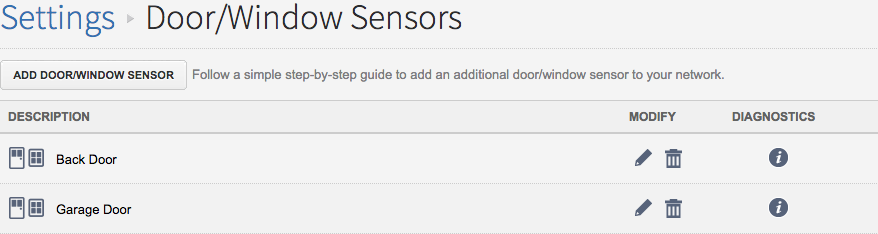
Click Add Door/Window Sensor(or whichever type of sensor you are attempting to add) and follow the on screen prompts.
Resetting

Remove the battery from the sensor.
While holding down the tamper switch, reinsert the battery.
Release the tamper switch when the LED turns green.